
TL:DR
- Reverse searing means cooking the steak low and slow in the oven first, then finishing with a hot sear.
- This method gives you an evenly cooked interior with a deep, crusty exterior.
It works especially well for grass-fed ribeye, since it prevents overcooking a leaner cut. - Start at 250°F in the oven, then finish in a screaming hot pan for 60 to 90 seconds per side.
- Let the steak rest for 5 to 10 minutes before slicing to lock in the juices.
Reverse searing sounds fancy, but it’s actually one of the easiest ways to guarantee a perfectly cooked steak. For grass-fed ribeye specifically, this method solves the common problem of overcooking a leaner cut before it ever gets a good crust, once you try it, it’s hard to go back to a straight stovetop sear.
I’m Tray, and cooking steak the right way is something I take seriously, both for our customers and for Friday night dinners at home with Carly and the kids. Let’s walk through exactly how reverse searing works.
Why Reverse Sear Works So Well for Grass-Fed Ribeye
I believe it’s a common knowledge that grass-fed beef has less fat than grain-fed beef, which means it can dry out faster under high heat. A straight hard sear from raw often overcooks the outer layers before the center reaches your target temperature. Reverse searing solves this by cooking gently first, then searing for just seconds at the very end.
This method gives you an evenly pink center from edge to edge, rather than a gray band around a smaller pink core. The final sear still delivers a deep, crusty exterior, since the steak is already warm going into the pan. It’s the best of both worlds in one technique.
Step One: Season and Rest
Take your ribeye out of the fridge and season it generously with salt at least 40 minutes before cooking. This early salting draws out moisture initially, then reabsorbs it back into the meat along with the salt. That process improves both flavor and texture by the time it hits the oven.
Let the steak come close to room temperature during this rest period. A steak that starts closer to room temperature cooks more evenly in the oven step that follows. Skipping this step is one of the most common mistakes home cooks make.
Step Two: Slow Cook in the Oven
Set your oven to 250°F and place the steak on a wire rack over a baking sheet. The rack allows air to circulate around the entire steak instead of trapping heat and moisture underneath it. Cook until the internal temperature reads about 10 to 15 degrees below your final target.
For medium-rare, pull the steak around 115°F to 120°F internal temperature. This step usually takes 25 to 45 minutes depending on the thickness of your ribeye. A meat thermometer is the only reliable way to hit this step accurately.
Step Three: The Hot Sear
Heat a heavy skillet, cast iron works best, until it’s smoking hot before the steak ever touches it. Add a high smoke point oil, like avocado oil, right before searing. This step is fast, just 60 to 90 seconds per side, to build a deep brown crust.
Add a tablespoon of butter along with garlic and fresh thyme during the final 30 seconds of searing. Tilt the pan and spoon that melted butter over the steak repeatedly for extra flavor. This finishing touch is what takes a good steak into truly memorable territory.
Step Four: Rest Before Slicing
Pull the steak from the pan and let it rest on a cutting board for 5 to 10 minutes. Cutting too soon lets all those juices run out onto the board instead of staying in the meat. That rest period is not optional if you want a juicy final result.
Slice against the grain once rested, especially important with a leaner cut like grass-fed ribeye. Cutting against the grain shortens the muscle fibers, making every bite noticeably more tender. It’s a small step that makes a real difference in the final texture.
A Friday Night Tradition
Reverse seared ribeye became our family’s Friday night tradition almost by accident, back when our oldest boy first got into cooking around age ten. He wanted a “job” in the kitchen, so checking the oven thermometer became his responsibility every single week. These days, Carly handles the salad, I run the sear, and our four kids fight over who gets the bone if we’re doing a bone-in cut instead.
It’s a small ritual, but it’s become one of our favorite ways to end the work week together. There’s something about the smell of butter and thyme hitting a hot pan that gets the whole house moving toward the kitchen table.
FAQ
What is reverse searing?
Reverse searing means cooking a steak low and slow in the oven first, then finishing it with a hot, fast sear in a pan to build a crust.
Why does reverse searing work well for grass-fed ribeye specifically?
Grass-fed beef has less fat, so it can dry out under high heat quickly. Reverse searing prevents overcooking by cooking gently first and searing only at the end.
What oven temperature should I use for reverse searing?
250°F is the standard temperature, cooking until the steak reaches about 10 to 15 degrees below your final target internal temperature.
How long should I rest a ribeye after searing?
Rest the steak for 5 to 10 minutes before slicing to allow the juices to redistribute throughout the meat.
Can reverse searing work with other cuts besides ribeye?
Yes, reverse searing works well with any thick steak, including NY strip and sirloin, especially with leaner grass-fed cuts.
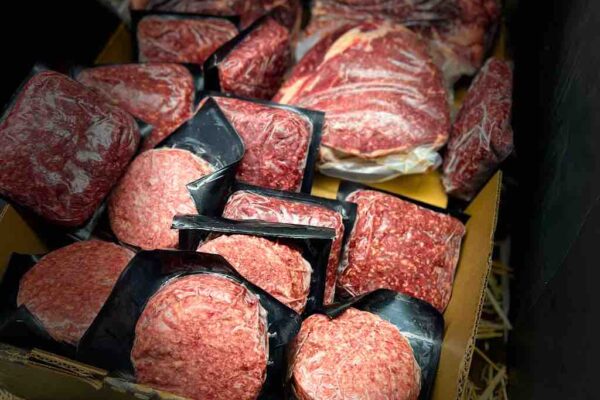
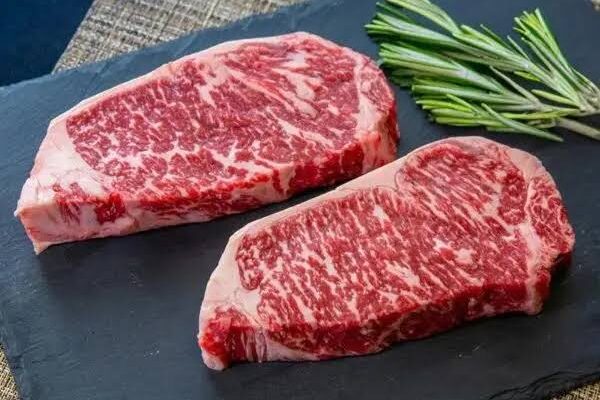
Ready to try it yourself? Check out our grass-fed ribeye and other steak cuts shipped flash-frozen straight from our farm.
1 thought on “Reverse Sear Ribeye: The Best Way to Cook a Grass-Fed Ribeye Steak”